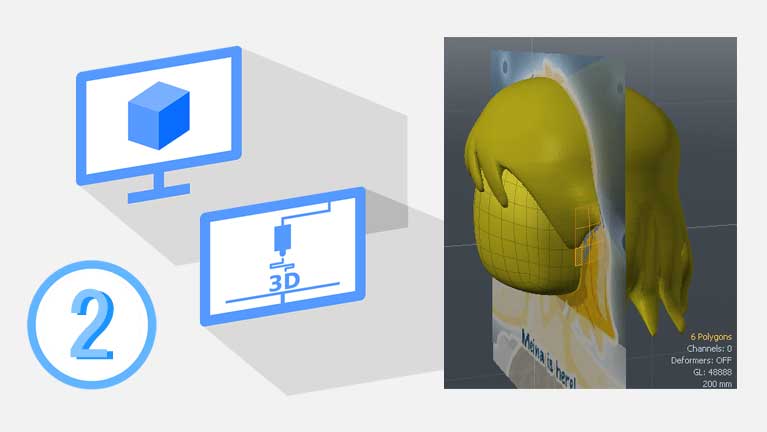
In this post, we will continue to model our cartoon character’s head. The first section will focus on the hair object. We have drafted a surface as the hair in the last teaching. However, the mesh is not 3D-printable because it has zero thickness. Thus, it is necessary to thick the surface to produce a certain before it can be used for 3D printing. We must further modify it to be a solid object.
After finishing the hair, you can follow the second section to integrate the hair into the head. But it is optional for you to fuse multiple components to be a single solid. If your 3D printer software can handle mesh overlapping, you may skip the process and follow the third section to add ears to the head object.
This post will cover:
- Convert hair to a solid object
- Merge hair with head object
- Modeling ears

⬢ Convert hair to a solid object
There are multiple ways to thicken meshes. Most 3D modeling software contains a function to convert an open surface to a close solid; typically, it offsets surfaces with a uniform thickness. You can try and evaluate the outcome; however, you won’t obtain a high-quality mesh by the algorithm if the surface is complex with many features. If so, I will recommend you using another way to produce a well-structured mesh. The following instructions will show how to use a combination of manual operations to thicken the hair workpiece.
Start from the hair bunches, repeatedly thicken each segment and transform the blocks into hairy shapes
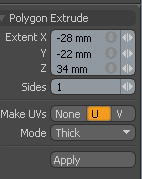
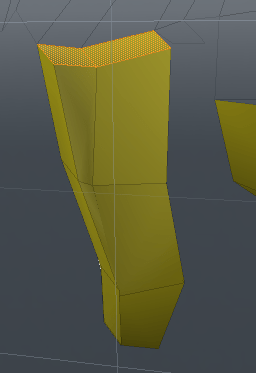
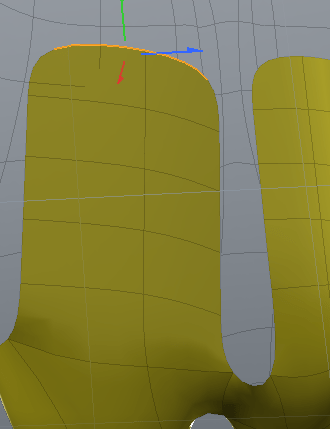
Open the option of Polygon Extrude tool (press X key), and switch Mode to Thick
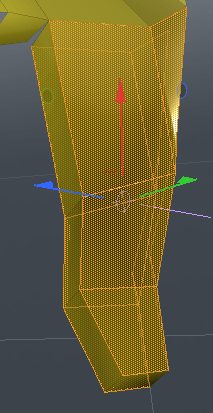
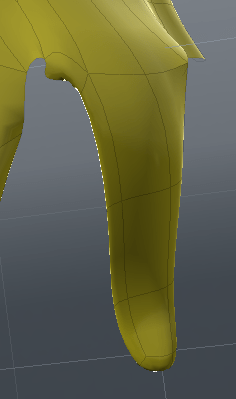
Move/rotate/scale the mesh to rough out the shape, e.g. thinner at the tip and thicker at the trunk.
Toggle the smoothness (press Tab key), and check the finished shape
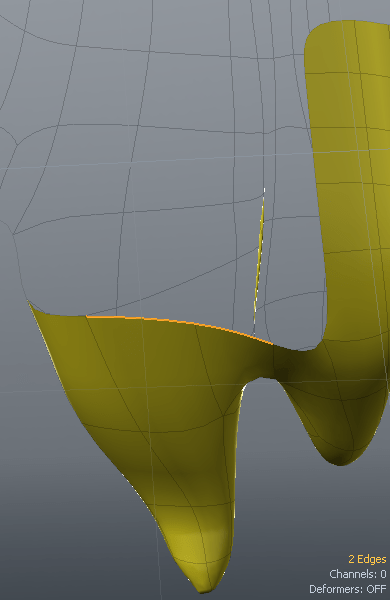
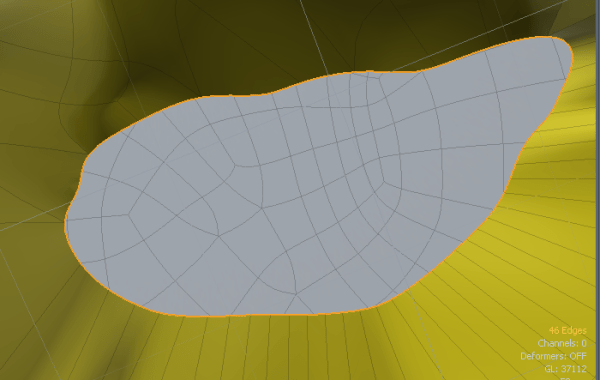
Rotate the view angle to the inner side of the hair, then delete the cap polygon from the extrusion as shown in the figure
Try to form a smooth periphery on inner side of Hair
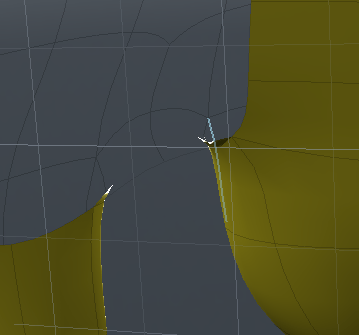
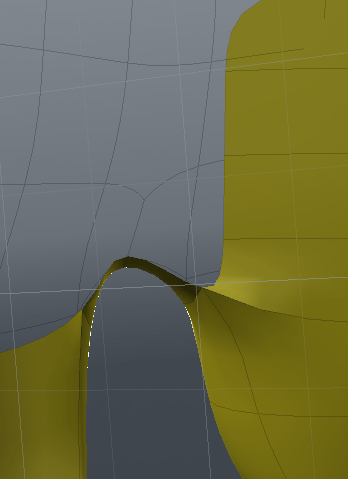
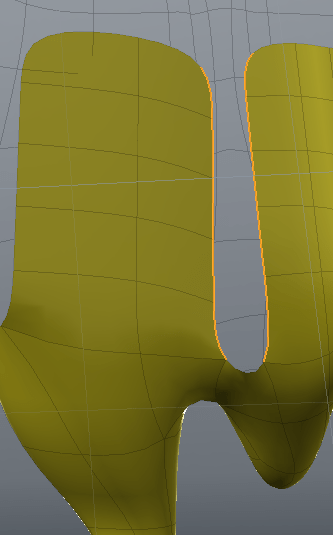
Zoom in the gap between two hair bundles. Then, select the edges from a pair of opposite meshes, and then use Bridge tool to patch the gap
Extrude the edges from the inner periphery and stitch the new meshes to a dome-like shape as the inner surface of the hairpiece
Select an edge section along the rim, then use Polygon Extrude tool to gradually extend the inner segments

Use Bridge tool to join adjacent meshes
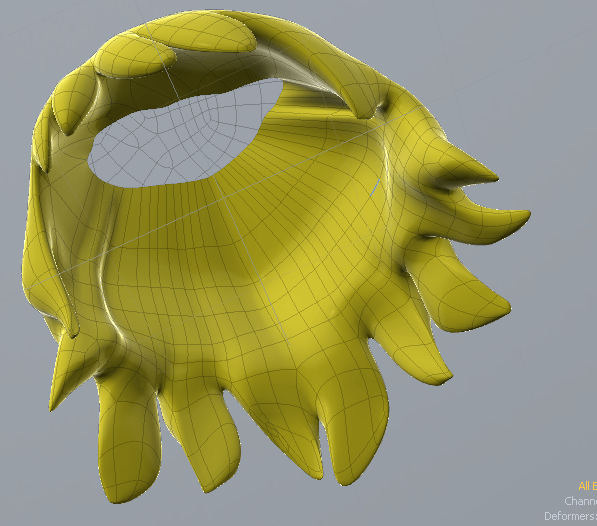
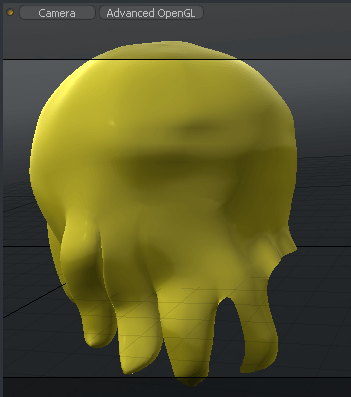
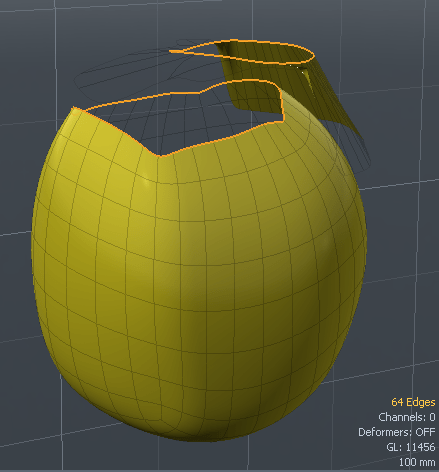
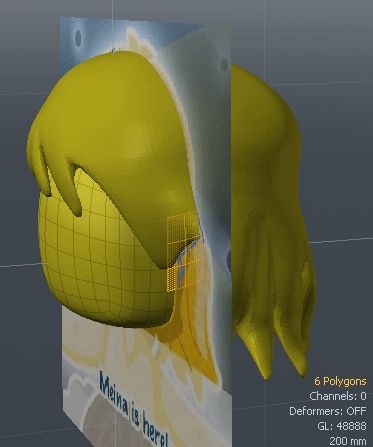
At the end of this task, the Hair part should look similar to the 3D object shown in the above picture. It has not finished yet, as it is still an unclosed mesh. If you’ve seen hats and hairs for LEGO Minifigures, they’re designed with an interlock for you to snap them to Minifigures’ heads. Similarly, we need to leave some spaces for further designing the connection between the two pieces.
You can consider the following 3 approaches :
3D printing tips: Tips for successful modeling – Shapeways
⬢ Merge hair with head object
Before reading the following instructions, you can merge the two solid objects by attempting the Combine or Union function in your 3D modeling software. The algorithm works well sometimes, while sometimes fails or generate strange results. Despite this, always try to use the simplest, quickest, and easiest modeling way first. But, you can also follow the stupid technique below to manually join two objects.

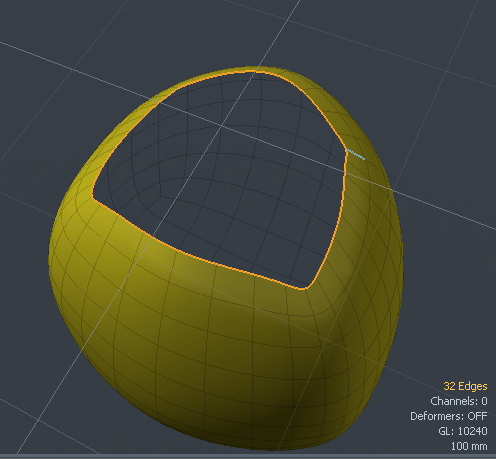
Cut a hole at the top of the skull

Use Scale tool to reduce the hole size and flatten the vertices to lay on the same plane. Then, use Polygon tools to adjust the number edges along the boundary to be the same as that on the skull

Select both boundaries and use Move tool to modify the relative position between them. Next, Use Bridge tool to join the gap between the two meshes
- A closed mesh object will be obtained after completing the above steps.

Use Flip tool to view inside out the cavity helps you spot bad geometries, e.g. mesh intersections, twisted surfaces, etc.
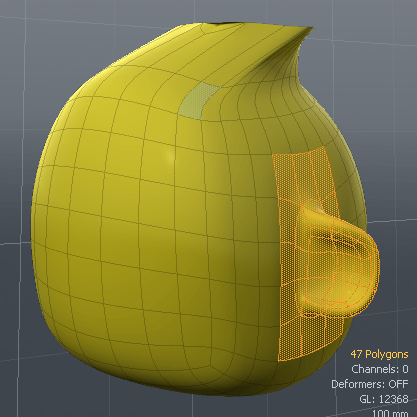
⬢ Model outer ears
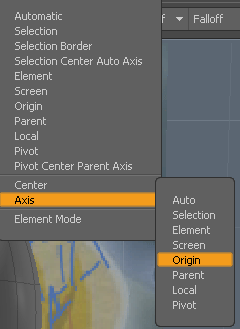
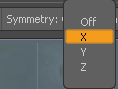
Choose Action Center > Axis as Origin, and then Set Symmetry as X
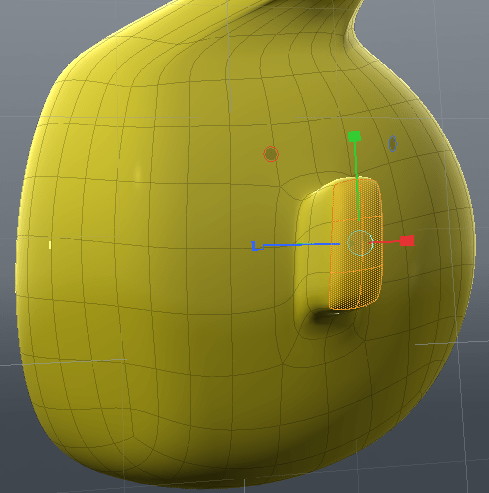
Unhidden all mesh faces and the backdrop image, and change the View and Shading settings to show back the grid, then select the polygons at the ear position
Tips: Hide those hair segments from the view while editing the ear section
- Use Extrude tool (press X key) to produce new segments and then pull outwards to rough out the size of ears
- Gradually move the edges and vertices to deform the mesh to a helix structure
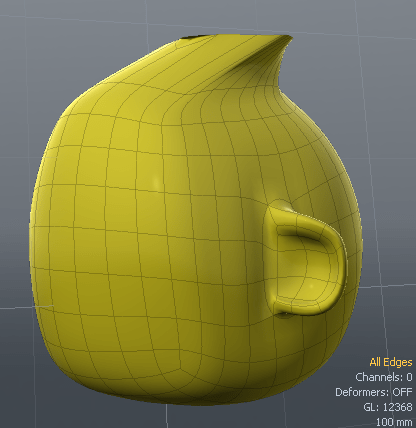
- Toggle the visibility of the hair segments to verify the geometries of the ears
- Adjust the geometries to avoid mesh intersections
The second note of this tutorial series is up to here. You should learn the know-how and the skills for making a solid 3D-printable model from polygons and meshes. There are many ways to manipulate vertices edges and faces of meshes; therefore, I recommend you keep updates with the latest software and professional modeling approaches. That helps you to improve and simplify your workflow. The next post will move to model the neck, and the body of the figure.
If you enjoy this post, please share it on Facebook and Twitter. You might also support us by making a donation through Ko-fi.