3D Modeling Cartoon Character – Part 3: Design Assembly Parts and Export 3D Print Files
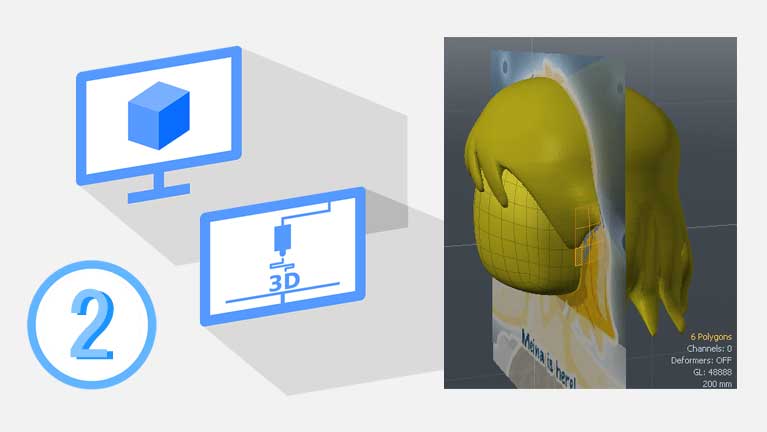
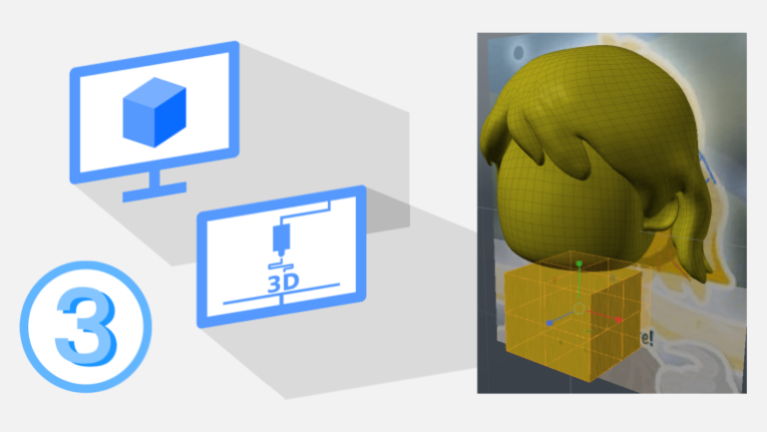
In this post, we will finish modeling our 3D head: build the upper body, make a neck connector, and use netfabb Studio to verify if the parts are 3D printable.
In this post, we will continue to model our cartoon character’s head. The first section will focus on the hair object. We have drafted a surface as the hair in the last teaching. However, the mesh is not 3D-printable because it has zero thickness. Thus, it is necessary to thick the surface to produce a …
3D Modeling Cartoon Character – Part 2: Solid Hair and Combine Parts to Single Mesh Read More »
If you’re interested in tailor-making a cartoon figure by, this tutorial contain step-by-step notes to teach you how to create a doll head from scratch.
Generate the G-code for 3D printer Related: Upgrade Ultimaker Marlin firmware and new SkeinPyPy slicing GUI We tested 3D printing our cartoon head using SkeinPyPy. The three images above show the 3D print settings for slicing the layers for Ultimaker Original. We experimented with two sets of configurations: with a layer height of 0.025 mm …
Printing Test of our 3D Cartoon Character with Ultimaker Original in 2012 Read More »