
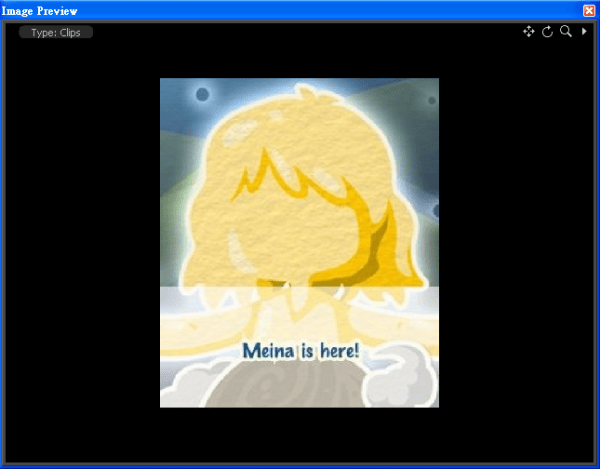
Project Meina 3DX was one of my 3D modeling and 3D printing project a few years ago. The 3D cartoon avatar above was the product from the project. If you’re interested in tailor-making a cartoon figure by yourself, you shouldn’t miss this new series of posts that teach how to create a doll head from scratch.
The tutorial will contain step-by-step notes. This post is the first article of the series, and it will cover:
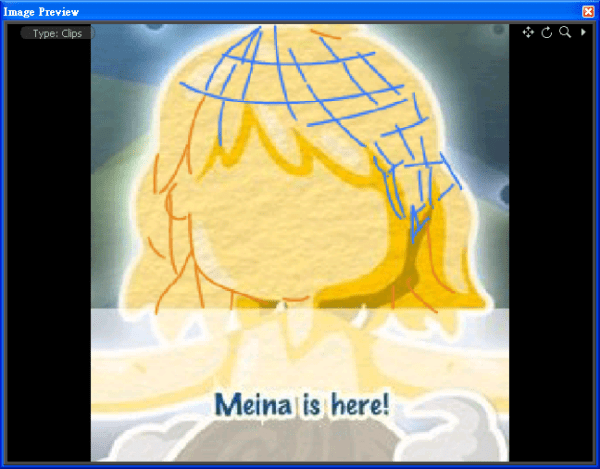
- Planning mesh segmentation with a 2D picture
- Importing the picture as a backdrop item for reference to a 3D model software
- Forming a symmetrical facial component
- Shaping a freeform hair component
Modo was the 3D modeling software that I loved to build 3D objects at that time. You can do a similar practice with alternative software, such as Blender, 3Ds Max, etc.
⬢ Before Start
⬢ Model 3D parts from scratch using Modo 401
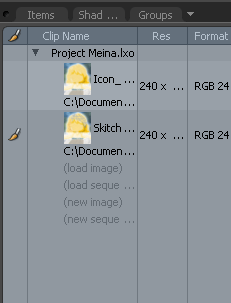
Add images to the Image tab
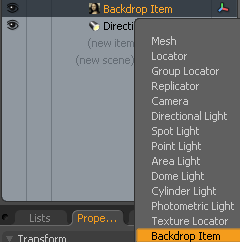
Insert the image as a Backdrop Item for reference
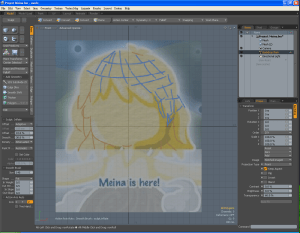
Set the transparency of the backdrop item if necessary
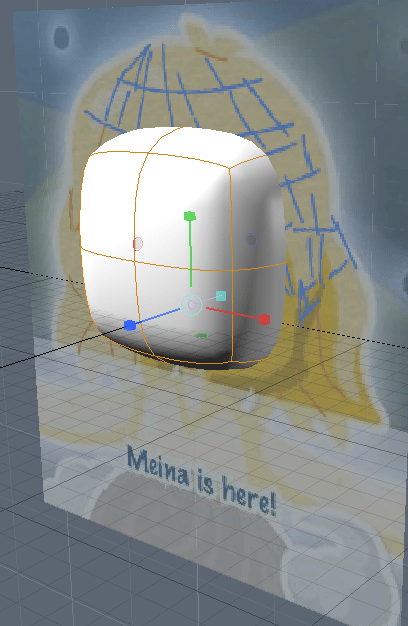
Insert a 2×2×2 cube, then toggle to subdivision mode (Press Tab key) and then scale the cube to the appropriate size.
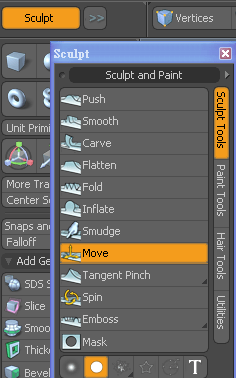
Use the Sculpt tools (e.g. Move and Inflate) to rough out the shape of the face. Choose the brush size (right-click and drag) to obtain the desired effect
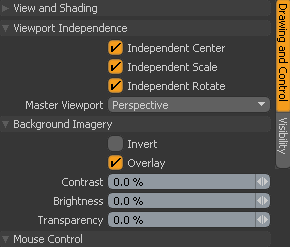
To view clearly, open View and Shading (press O key) and change the settings. Hide the Grid and Enable ‘Overlay’ can display the meshes in clear orange.
- Delete half of the cube
- Select the edge as the figure
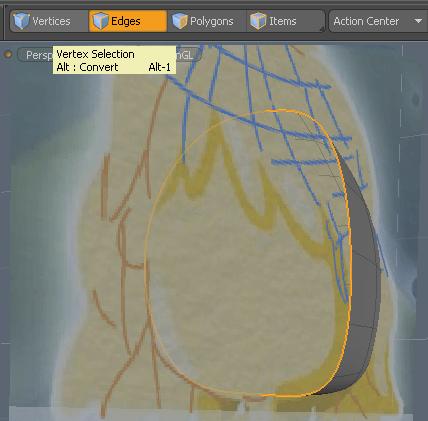
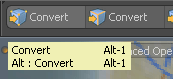
- Hold Alt key and click the Convert to select vertices
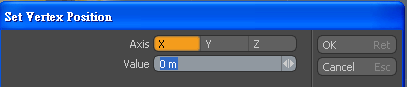
- In the main menu, choose Geometry > Vertex > Set Position… , and then set X to be 0

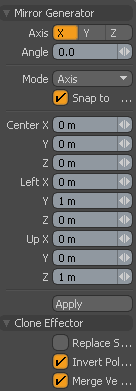
- Select the polygons to be mirrored, and then choose Geometry > Duplicate > Mirror (Shift+V)
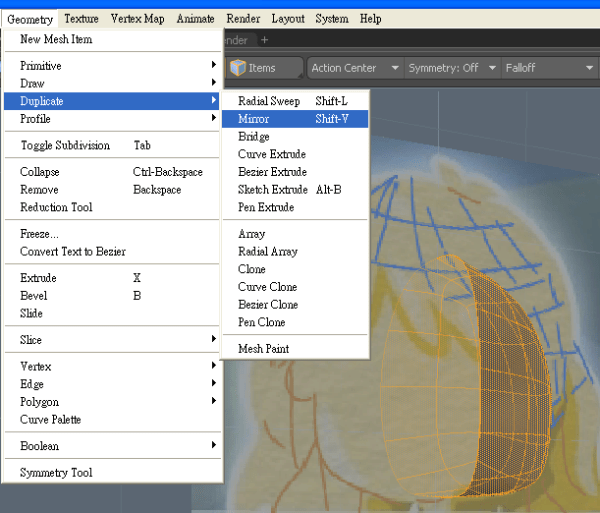
- Make sure the X-Axis is selecting for mirroring
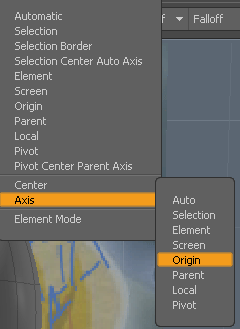
- Choose Action Center > Axis as Origin, and then Set Symmetry as X
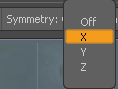
- Now any change on either left or right will be mirrored symmetrically.
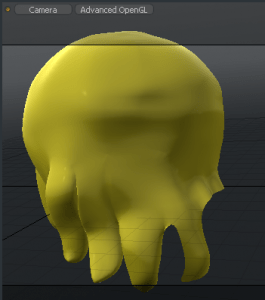
After modeling the face, build a rough shape of the hair similarly
Tips: You may duplicate the Head and scale approximately to be Hair Datum
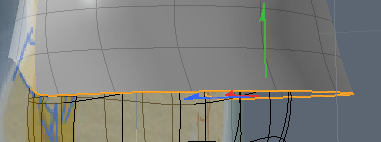
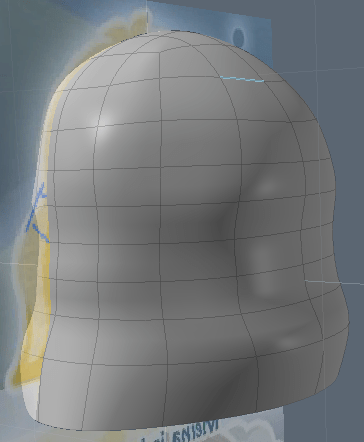
- Build a dome-shaped mesh covering the head
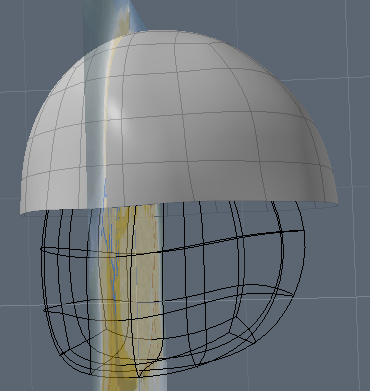
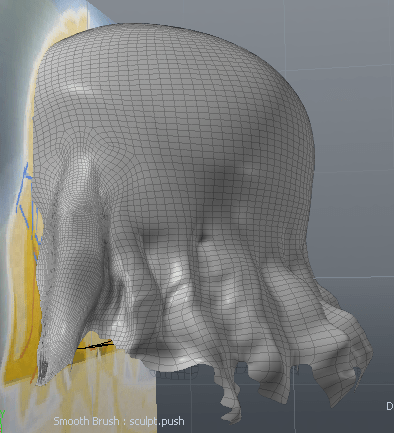
- Press Z key to extending the lowest edges at the rear and repeat several times until it gains enough length for sculpting the form of hair
- Roughly sculpt the hairstyle
- Use Mesh > Reducing tool to diminish the mesh size and save memory if necessary
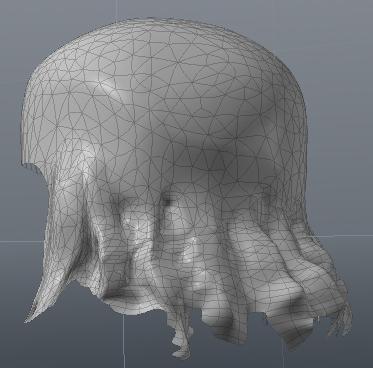
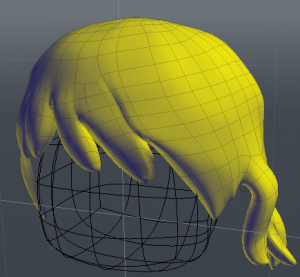
The mesh of Hair Datum, which created in the last step, looks ugly and consists of too many triangles. Using the snap function, build a new mesh manually with polygon tools to clean up the morphology of the hairstyle.
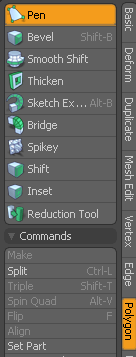
Use Polygon > Pen tool to build the topology of hair details
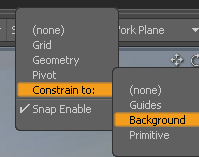
Enable Snap > Constrain to > Background, such that the polygons can lay on the topology of ‘Head Datum‘
Refine the length and the segments of the hair tips using Extrude tool (X key)

The first note of this tutorial series is up to here. You should get the idea across the 3D primitives, 3D sculpting, polygon editing, and mirroring tools. Meanwhile, you learned how to make a preliminary design for a 3D cartoon character, by using the tools to create an oval-shaped skinhead with a hair-like shell above it. The next post will further describe the details in modeling the hair object.
If you enjoy this post, please share it on Facebook and Twitter. You might also support us by making a donation through Ko-fi.