If you bought or going to develop a laser engraver with Arduino boards and GRBL firmware, here is a small but important configuration that significantly affects your laser process results.
GRBL is an open-source firmware that runs on an Arduino for converting g-code commands to the motion control of CNC machines. The controller was primarily developed for CNC milling, controlling the spindle rpm, which is known as spindle mode. The laser process has almost the same control loop, except for the tweak of laser power. Therefore, laser mode has been introduced in GRBL v0.9 or higher. You need to correctly configure the GRBL settings when installing the firmware to your machines.
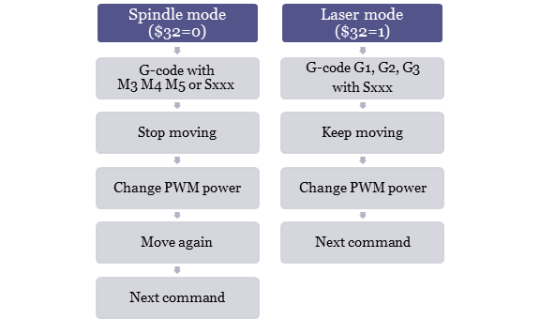
What is the difference between laser and spindle mode in GRBL?
The planner moves the laser point to your defined coordination and tuning the PWM power of your laser diode in both laser and spindle modes. So, what is the principle behind that makes them result differently?
The main difference between them is how the spindle/laser output is controlled with motions. In the spindle mode, every time a spindle state (such as M3, M4, or M5) or spindle speed (Sxxx) is altered, the controller temporarily stops the feed motion. This gives time to allow the spindle to speed up/down. However, if it is used to control a laser, the staying leads to scorching, uneven cutting depth, or bumpy engraving marks! The laser mode prevents unnecessary stops whenever possible and adds a new dynamic laser power mode that automatically scales power based on the programmed speed along the path. So, everything is nice and smooth with the laser mode in GRBL. The detail of GRBL V1.1 laser mode can be found from GRBL v1.1 Laser Mode · gnea/grbl Wiki.
Enable laser mode in GRBL
Assuming you know about how to send a command to your machine with a GRBL sender, enabling/disabling the GRBL Laser Mode is super easy. You just need to change the value of the profile $32 in the GRBL setting.
- To Enable: Send GRBL a
$32=1command - To Disable: Send GRBL a
$32=0command
Upgrade to GRBL v1.1
There are two major reasons for the firmware upgrade. The first interest is to enable speed and power overrides in real-time during the laser process. The override function is a new feature of GRBL v1.1 while GRBL v0.9 does not.
The second important consideration is to enable the safety door setting for the emergency cutoff of laser power. The laser source does not power off while the step motors for the XY movement are de-energized in the HOLD mode of GRBL v0.9. A stationary laser point can cause serious safety issues, including laser and fire hazards. Upgrading to the latest firmware enhances the safety of the system.
How to compile the GRBL firmware with Arduino IDE
- Download and unzip the latest release from the GRBL GitHub repository.
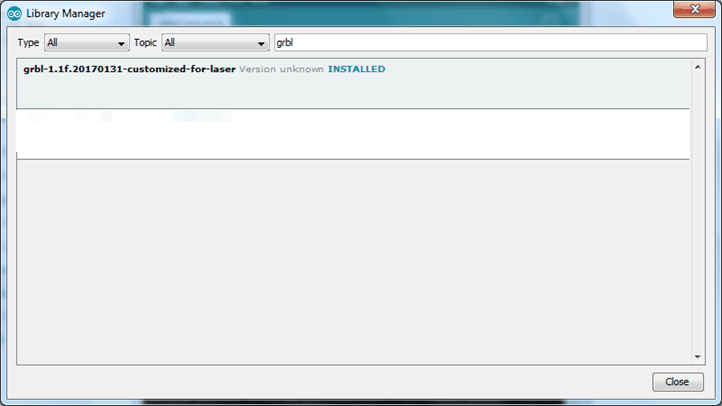
- To check if the library has been installed, Open Arduino IDE,
click Sketch > Include Library > Manage Libraries…
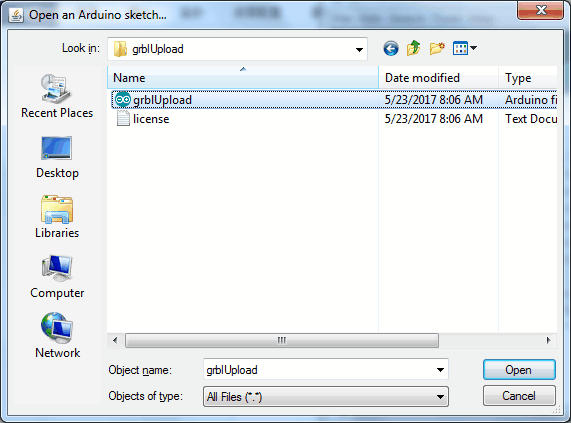
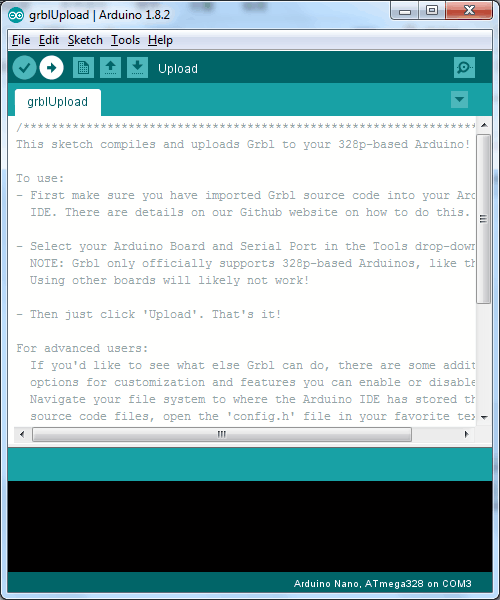
- Open examples > grblUpload > grblUpload.ino in Arduino IDE.
- Configure the board model, processor, and port number, and then press Upload to compile and burn the new firmware to an Arduino board.
Useful links


If you enjoy this post, please share it on Facebook and Twitter. You might also support us by making a donation through Ko-fi.