Last modified:
Do you have a WordPress site and it is slow? You want to have a faster site but worry about switching to another CMS platform. A good way to solve that is to generate and deploy a static version from WordPress to Netlify.
- Before You Start
- Setup Local Development Environment
- Migrate Existing WordPress to the Local Environment
- Deactivate and Delete Caches and CDN Plugins
- Fixing Polylang Routing Issues
- Setup WP2Static Plugin
- Replace Google Site Kits with Third-Party Plugins
- Export Redirections to Netlify
- Customize 404 page
- Replace WordPress Search with Algolia
- Replace Forms
- Replace WordPress Comment System with Disqus
- MAKE FINAL CHECK
- Q&A
- Learn More
Netlify is the most popular cloud platform to build and deploy modern web applications. It is entirely different from traditional web hosting, serving from a single or a small group of origin servers. It hosts websites via modern CDN and edge servers to deliver content globally.
It is the perfect place for you to start new website projects, with Netlify’s free tier plan. I think there are at least five reasons why it is worth migrating a WordPress site to Netlify:
- Make your website faster around the world on Netlify CDN
- More secure as no WordPress backend exposing to the internet
- Reduce efforts in WordPress hosting and maintenance
- Host your website for free
- Get free HTTPS on all sites with automatic certificate renewal
It’s worth especially for multilingual websites, which target worldwide audiences rather than a group of users from a small and specific region. You don’t want your site to slow down and leave a bad experience when users come from regions far from your web server.
Unfortunately, multilingual WordPress is generally slow because having a translation plugin increases page load time for both original and translated pages. In addition, not just the translation plugins, all plugins hurt the WordPress performance.
“We know slow WordPress plugins is one of the biggest performance killers in the WordPress ecosystem.”
It is necessary to understand that Netlify is not to host or run the whole WordPress application online. You will need to set up WordPress on a local computer or elsewhere.
The deployment undergoes a process called static site generation (aka WordPress-to-Static) to pre-rendered pages from WordPress. It is much like building cache files on a hosting server.
The output (including the static HTML, CSS, JavaScript, and image files) is then uploaded to Netlify. Since static HTML is lightweight, webpages can deliver fast across the world from Netlify’s CDN nodes.
This article will go through the essential steps to make your WordPress content on Netlify. So, time to get your hands dirty.
Before You Start
Moving WordPress to Netlify sounds great but a few limitations that you have to consider beforehand. To determine whether it is good to go, I recommend you go through the following questions:
If any above conditions apply to you, the following approach won’t be a solution for you. You should stick your website with conventional WordPress hosting.
In our example, the multilingual WordPress is powered by the Polylang plugin. If you use other translation plugins, make sure that the plugin allows serving different language pages with unique URL paths, e.g. /en/page1/ for English and /fr/page1/ for French.
To deploy WordPress on Netlify, you only need a desktop computer to set up a local environment for building your WordPress site. Even if you have WordPress hosting online, isolating development from production is always a good idea. Such that you won’t crash anything in the existing one. Follow the next two sections to create a local development environment using Docker and make a clone of your existing WordPress site on it.
Setup Local Development Environment
There are several ways to set up a WordPress development environment on your local computer. For example, you can
- install LAMP/MAMP/XAMMP server and WordPress on virtual machines;
- install managed stacks for WordPress using Local, Lando, or Instant WordPress;
- run a pre-built containerized WordPress stack using Lokl;
- run a custom stack for WordPress locally using Docker.
In the beginning, I tried Local because it is the easiest to install and use. However, it did not work as expected on my Windows system. It seems that Local has some compatibility issues with the Polylang plugin, causing the ERR_TOO_MANY_REDIRECTS error in browsers and failing to open the pages.
As a consequence, I go for Docker as I need more control over the WordPress development stack. I can make it simpler to be understood by only including the essential components, i.e. the WordPress and MySQL containers.
As a consequence, I go for Docker to better control my WordPress development environment. Want to know how? Go to “Building a WordPress Local Development Environment with Docker 🐳” to continue reading the latest tutorial to give it a try!
Migrate Existing WordPress to the Local Environment
After setting up the WordPress development environment locally, you can refer to the tutorial “Free WordPress Migration Tool – WPvivid Backup & Migration Plugin” to migrate the existing WordPress site to the local environment. Below is an overview of the migration process:
- Install and Activate the Plugin: Install the WPvivid Backup & Migration plugin on both the source and local WordPress admin dashboards.
- Backup Database and WordPress Files: Log in to the source WordPress dashboard, navigate to the WPvivid Backup’s Backup & Restore page, and click Backup Now to perform a manual backup.
- Download Backup File to Your Computer: On the Backup & Restore page, find the most recent backup in the backup record list and click Download to download the compressed backup file in Zip format.
- Restore the Site in the Local Environment: Log in to the local WordPress dashboard, go to the WPvivid Backup’s Backup & Restore page again, and upload the downloaded Zip backup file through the Upload form at the bottom of the page.
- Restore the Site: Click the Scan button to detect the backup file, then click Restore to start the restoration process.
After completion, you should see the entire site successfully copied to the local environment. Use the same username and password from the original site to log in to the local WordPress dashboard.
Now, you can freely develop, test, and optimize the site locally without worrying about affecting the live site.
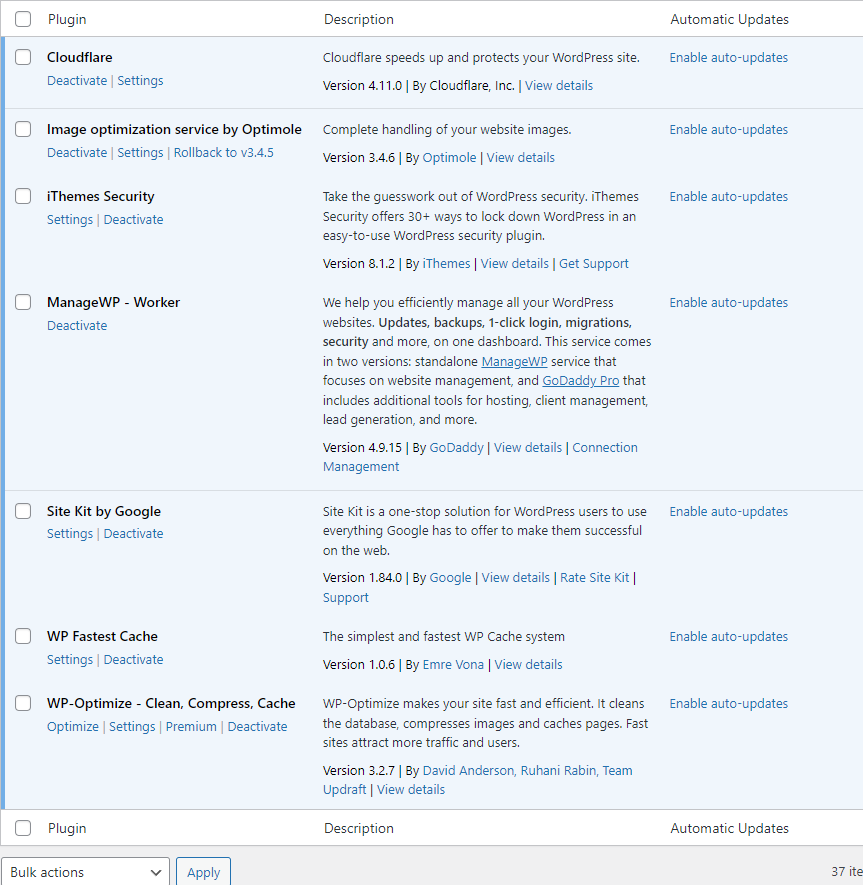
Deactivate and Delete Caches and CDN Plugins

Our objective is to make all content and page resources on the local site to be crawlable, thereby an intact static copy to deploy on Netlify.
For development, a local WordPress doesn’t need cache and CDN plugins to improve page load time. Having any plugins that preload and cache the site pages will use lots of your computer’s CPU and memory resources.
WordPress-to-Static plugins will carry out similar processes at once before uploading all pages to Netlify. So, the cache plugins are redundant and likely increase the chances of failures and errors occurring in the pipeline.
Removing CDN plugins to disconnect from the original CDN service. It also prevents incorrect rewrites and redirects for images and asset files. Netlify will automatically deploy your uploaded site to their global CDN instead.
Fixing Polylang Routing Issues

With Netlify CDN, your production site will load fast over the world. It is great to attract audiences in different languages. The next move looks into the multilingual settings of the WordPress site.
Many multilingual sites use language prefixes in the URL paths to separate different language contents, for example, mysite.com/en/page1.
Most WordPress translation plugins support tweaking the URL format and redirecting default permalinks to the translated pages.
It is quite common, pages do not work after migrating a WordPress site. It is because some URLs are still pointing to the previous domain. Also, this happens more often if WordPress installs with Translation plugins.

For the Polylang plugin, you might find the homepage becomes broken. You can temporarily deactivate the plugin to see if the page is restored or not. Then, fix the issue with the following steps:
- Re-activate the Polylang plugin in your WordPress Admin Panel.
- Go to the Pages menu, then open each language homepage and save it again.
- Go to Settings > Reading page, then select the ‘A static page’ option under the ‘Your homepage displays’ section. In the dropdown of the ‘Homepage’ option, select the page you designed for the default language home.
After that, the Polylang plugin should rewrite the URLs and correct the pages with those settings.
Setup WP2Static Plugin

WP2Static is a free, open-source plugin maintained by Strattic by Elementor. It can transform your WordPress site into a static website. Previously, you only needed to fill out your name and email address on the official website’s “Download” page and agree to receive newsletters and promotional information from Strattic. You would then receive an email with a download link to get the latest plugin package.
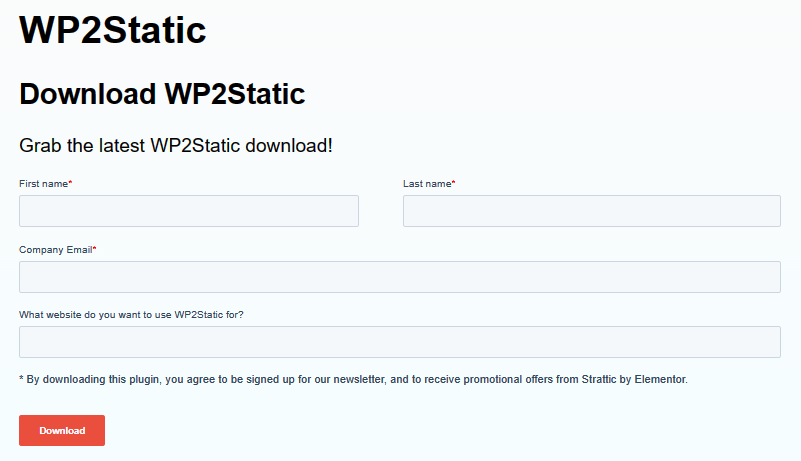
Unfortunately, since Elementor acquired Strattic in 2022, it seems that WP2Static has not received much effort maintenance. Nowadays, even the official website wp2static.com is no longer available, leaving us to rely solely on its GitHub repository for the source code.
But don’t worry! We’ve put together a comprehensive tutorial to guide you through compiling and configuring the WP2Static plugin. By following these steps, you can effortlessly convert your WordPress site into a static website and deploy it on Netlify, allowing you to continue enjoying the powerful capabilities of this open-source tool.
If everything goes smoothly, your site will be successfully online. If you don’t see any issues, congratulations! 🎉
Well, you may still find something missing. Let’s further look at some common problems and see how to fix them.
Replace Google Site Kits with Third-Party Plugins
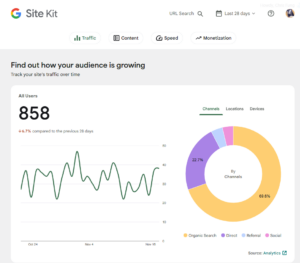
If you do not use the Site Kit by Google plugin to connect Google AdSense, Google Analytics, and/or Google Tag Manager with your WordPress, you can skip this and jump to the next part.
The Site Kit by Google plugin requires you to sign in and authorize it with your Google Account to allow it access to Google data, and automatically set up the services. It only works when the WordPress server is publicly accessible on the internet, and does not work on a local computer.
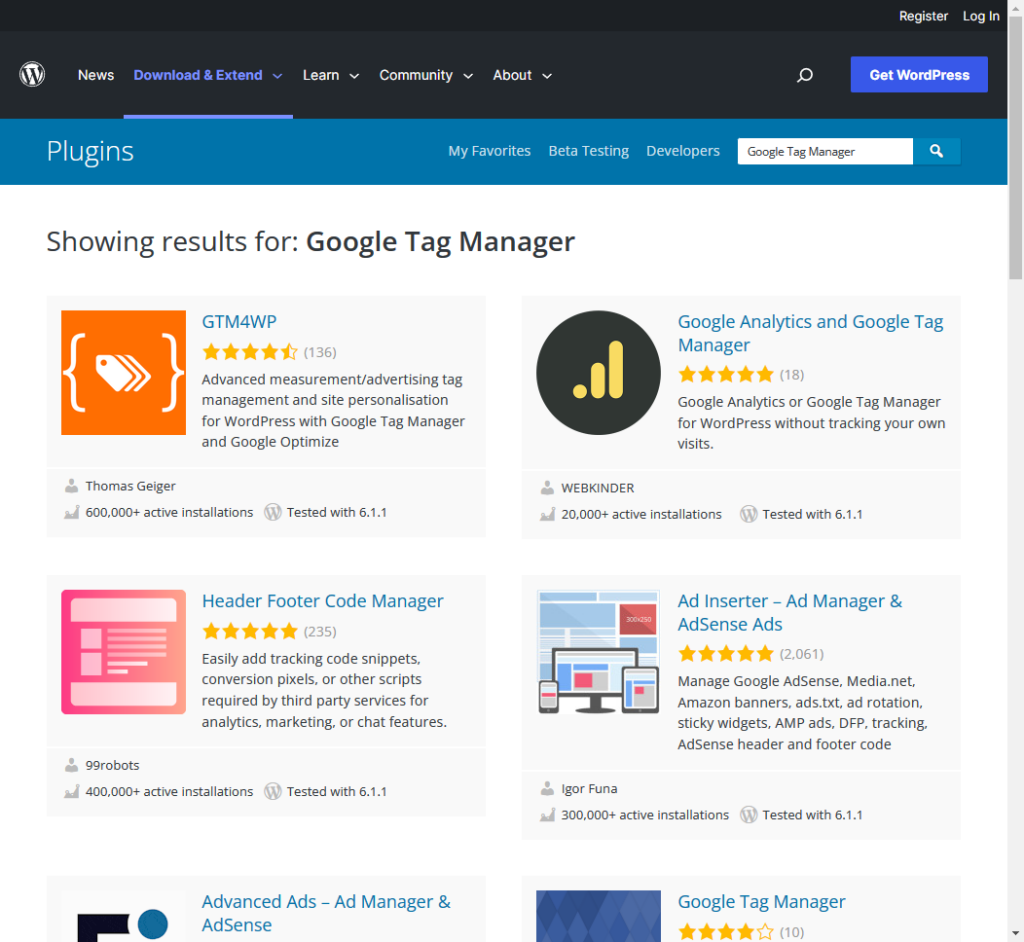
Therefore, you have to use third-party plugins for those Google services. You can easily find and download the free alternative plugins from the WordPress.org website or your WordPress Admin Panel.
Export Redirections to Netlify

For a large and historical website, it is likely to have the redirection of pages because of the following situations:
» When changed your domain name
» If you want to improve your SEO
» When you have deleted some pages on your site
» There’s a page that needs an update
» When you run limited-time deals
You might manually set up redirects in WordPress before. Some SEO plugins also automatically generate redirects when a post or page is created or updated. These redirections will still work properly on localhost, but do not work on your Netlify site.
To enable redirects on Netlify, you have to rewrite the redirect rules by adding a _redirects or netlify.toml file to the publish directory of your site.
You can install the Redirection plugin by John Godley to export the redirection rules from WordPress. The plugin supports importing from Apache .htaccess and other popular SEO and redirect plugins, and exporting to CSV and JSON formats.
In a text editor, format the URL redirects according to the Netlify Docs. For example,
# Redirect /post/old_slug to /post/new_slug
/post/old_slug     /post/new_slug      301

# Redirect /category/old_name to /category/new_name
/category/old_name /category/new_name  301
Save the plain text file called _redirects without a file extension. Then, copy the file to the wp2static-processed-site folder under wp-content/uploads.
Navigate to WP2Static > Run page. Click the ‘Generate static site’ button to deploy the file changes to Netlify.
† Notes: The _redirects file can be removed if you clear caches via the WP2static panel. A better way is to keep the file in the root of the WordPress directory, and then use a custom function to enable the WP2static pipeline to crawl specific files to the caches. You can find more details in the later section.
Customize 404 page
A 404 Page is dynamically rendered from a WordPress server, when a non-existing URL is requested. It is a non-regular page and not detectable and crawlable by the WP2static plugin.
When the static site deploys on Netlify, the visitors will see the default Netlify 404 error page that looks completely different from your site theme.

You can fix the issue by adding a custom 404 error page via one of the following methods:
- Manually export the 404 page as a
404.htmlto the publish directory of your site. - Configure redirects on Netlify to forward nonexistent URLs to specific pages.

If you want to display that 404 page for different languages, use the second method to enable redirects by languages. At the end of your _redirects file, add the redirect rules like this:
# Show custom 404 page upon the language prefix in URL
/en/*    /en/404-page-not-found/    404
/fr/*    /fr/404-page-non-trouvée/  404

# Fallback if URL does not match the above rules
# Show custom 404 page upon visitor's language preference
/*       /en/404-page-not-found/    404   Language=en
/*       /fr/404-page-non-trouvée/  404   Language=fr
Replace WordPress Search with Algolia
If your theme or page layout contains a search box for finding something on the website, that is what you should be aware of. The static site does not work with WordPress’s built-in search engine. So, you need to restore the search feature on your site by using a Serverless solution.

Algolia is a popular cloud-based search platform that enables indexing pages and adds a full-text search on a site. Its free plan offers 10,000 index records and 10,000 search requests per month. If your site is small and has low traffic, you can always enjoy Algolia’s service for free.
WP Search with Algolia is the WordPress plugin to bring Aloglia to your site. It enables you to configure which types of pages and data are used to index and make searchable. It will also insert the Algolia JavaScript and integrate autocomplete into the search boxes in your theme.
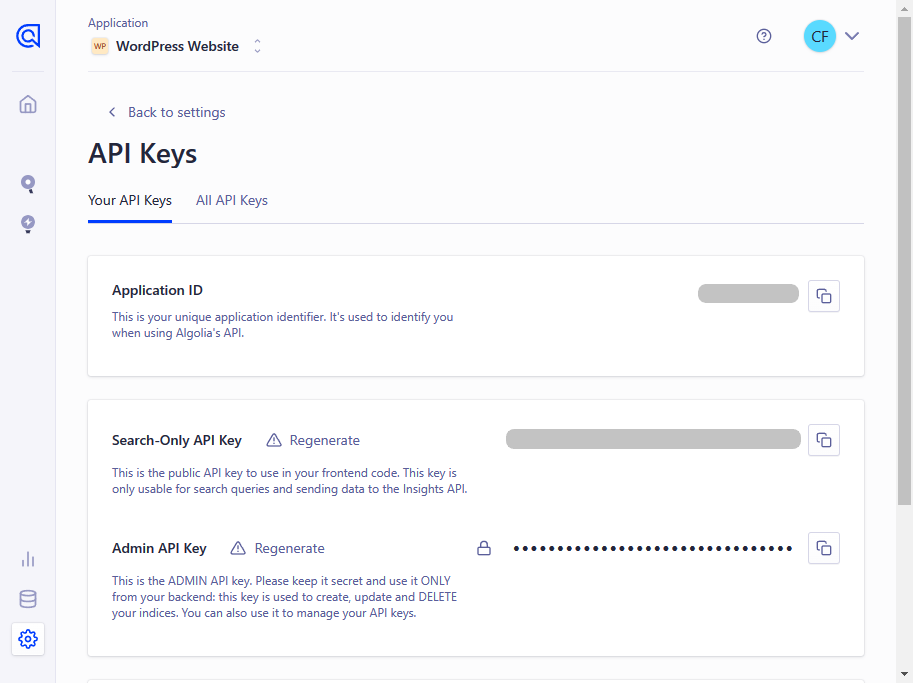
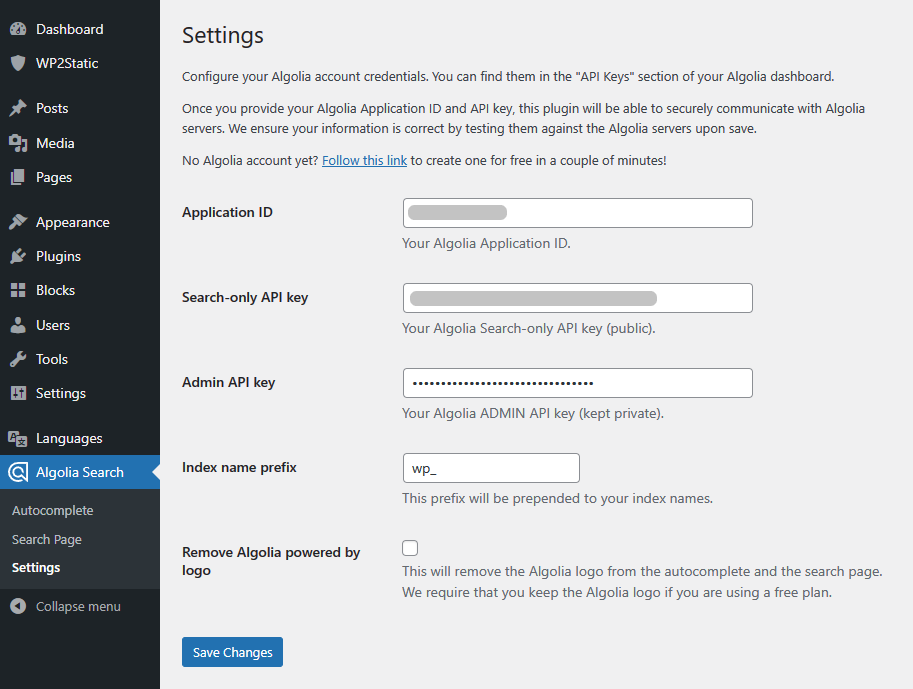
You need to configure the plugin with Algolia’s API keys. Sign in to your Algolia account, and navigate to Settings > API Keys from the left pane. Then, copy the Application ID, Seach-Only API Key, and Admin API Key and fill them to the plugin settings, and then click Save Changes to grant access.
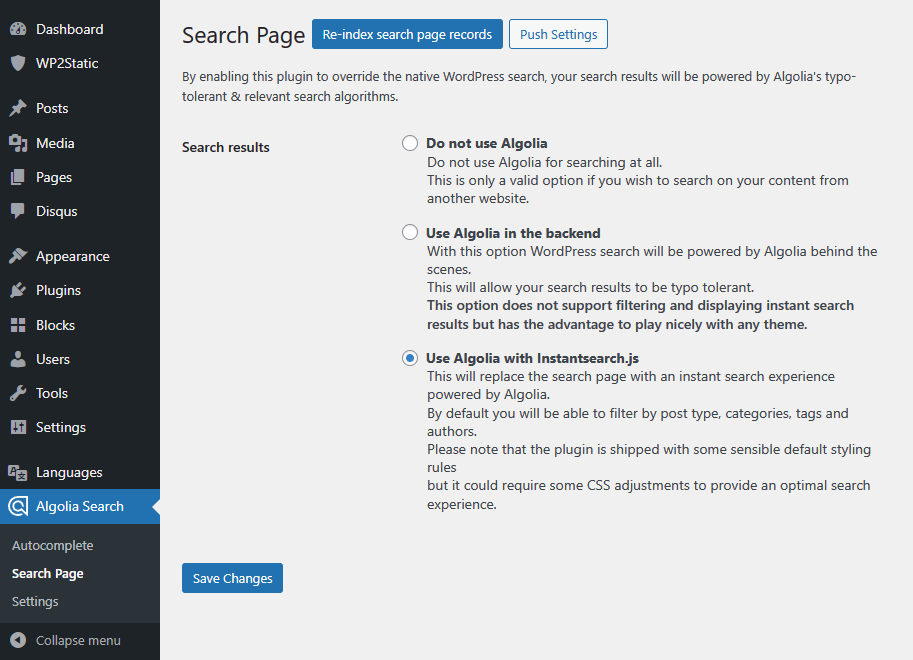
Navigate to Algolia Search > Search Page, and switch to Use Algolia with Instantsearch.js to display the search results.
After that, you will be asked to index all the posts. But stop there!

Before going ahead, you have to add a custom function in WordPress to tell the plugin rewriting URLs, i.e. http://localhost to your Deployment URL.
The simplest way is to use the Code Snippets plugin to insert the PHP codes. Copy and paste the following codes to a new snippet:
Replace https://yoursite.com with your Deployment URL inside development_url(). Then, click Save Changes and Activate.
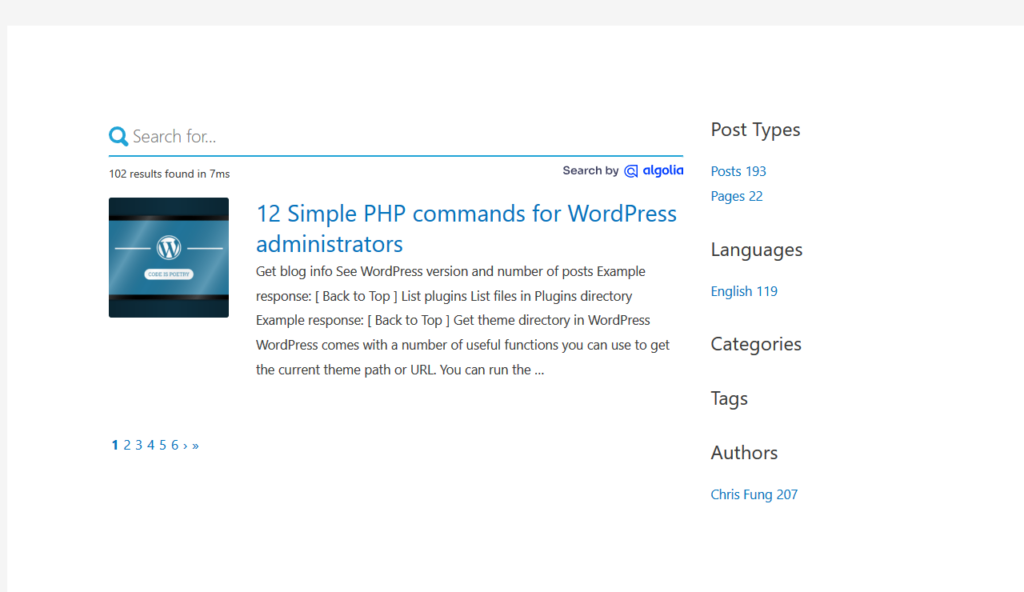
At this stage, hitting Enter key in a search box will still direct to the default search result page, i.e. /?s=SEARCH_TERM. To show the search results powered by Algolia, you need to create a new page with the following custom HTML codes:
The above code snippet is a modification of the instantsearch.php file in the wp-search-with-algolia/templates under the plugin folder. It will result in a search result page that looks like below.
Use Polylang to create the translated pages for other languages. After that, add the redirect rules at the beginning of your _redirects file like this:
# Show custom search result page upon the language prefix in URL
/en/*    s=:s  /en/search/?s=:s 200!
/fr/*    s=:s  /fr/rechercher/?s=:s   200!

# Fallback if URL does not match the above rules
# Show custom search result page upon visitor's language preference
/*    s=:s  /en/search/?s=:s 200! Language=en
/*    s=:s  /fr/rechercher/?s=:s   200! Language=fr
Replace Forms
Forms for contact and newsletter subscription are also commonly found on websites. The forms handling the form submissions via a WordPress server will break on Netlify. You can replace them to:
- Netlify Forms
Netlify’s free plan offers 100 form submissions per site /month. When usage exceeds the limit, Netlify will charge US$19 for the next 1000 submissions and an extra US$9 for every additional 500 submissions (see Forms Pricing | Netlify). All submissions to your Netlify forms will gather in your site’s Forms tab on the Netlify dashboard. - Embed online forms
Many free and user-friendly solutions are available in the market, such as Google Forms, HubSpot Forms, Jotform, Mailchimp Signup Forms, etc.
Replace WordPress Comment System with Disqus

Due to the same reason, the built-in comment system also won’t work on Netlify. You can use Facebook Comments instead but I will recommend better to have Disqus, a free and popular platform take over the jobs.
Install the Disqus Conditional Load plugin, and then import the existing comments from WordPress to Disqus. The plugin will remove the built-in comments and insert the Disqus loading script into your WordPress theme.
The comments will show on your production site. It is, however, they will have a layout and style different from the original.
Disqus’s free version may also insert Ads to the comment section if the usages exceed a certain account of traffics. You can remove the Ads by upgrading to a paid plan for US$11+ per month.
MAKE FINAL CHECK
With the abovementioned modifications, your site looks ready to go!
Yet, you should run a few inspections before the site launch.
Run a Broken Link Check to detect if any pages, images, and assets are missing from the production site. Fix the broken URLs in WordPress and run then WP2Static to deploy the updates to Netlify again.
You might find certain URLs that are always unable to be detected by the WP2Static plugin. Those resources will need to manually add them back by using the following snippet,
On the other hand, you might also exclude specific pages being searchable from Algolia. Using the following snippet to modify the indexing process of the WP Search with Algolia plugin,
Try your best to fill up all potential holes! Don’t forget to check both the desktop and mobile views of your final version.
Everything is set up! I hope you also make a successful WordPress deployment on Netlify 🙂 and, say goodbye to your old hosting providers!
Q&A
Learn More
About Static WordPress:
- What is Static WordPress? | Strattic — fast and secure static WordPress hosting
- Static WordPress: An Introductory Tutorial [2022] | seowings.org
- What are Static Websites: How, When, and Why to Have One? | seowings.org
- WordPress on Netlify: Step by Step Complete Guide (2022) | seowings.org
About Jamstack vs WordPress:
- Jamstack vs WordPress | DEV Community 👩💻👨💻
- The Jamstack Ecosystem vs. WordPress: Why and When to Switch | Prismic
- Top WordPress Translation Plugins Compared Based On Page Load Time | TranslatePress
About running WordPress on a local computer:
- What Are The Advantage Of Local WordPress Hosting? | seowings.org
- Installing WordPress on your own Computer | WordPress.org Forums
- Top 10 Best Localhost Testing Environments for WordPress | seowings.org
- Building a local WordPress test environment using Windows 10, Docker Desktop, and WSL 2 | Jussi Roine
- Using Docker Containers With WordPress | WP Engine®
- How to Setup a new WordPress Project with Docker | Medium
- Create your first PHP/MySQL application in docker | by Adnan Siddiqi | FAUN Publication (medium.com)
About addons for WordPress stacks:
- Nginx vs Apache: Best Web Server for WordPress? | WP Engine®
- How to Manage a WordPress Database with phpMyAdmin | GreenGeeks
About WordPress Translation Plugins:
- The Eight Best Multilingual/Translation Plugins for WordPress | winningwp.com
- URL modifications — Polylang
About adding custom functions to WordPress:
About missing features in Static WordPress and their solutions:
- How do redirects work in the static site? | wp2static.com
- How to set a 404 page in static website? | wp2static.com
- Search Options for Static Sites | wp2static.com
- Faster and Better Search Results with Algolia in WordPress | WP Speed Matters
- Quick start | WordPress | Algolia
- Creating a Search Page | WordPress Codex
- How to Build Your Own Custom WordPress Search | WPMU DEV
- A Complete Guide to Netlify Forms | Stackbit
- Top 15 Google Forms Alternatives (Free and Paid) | kinsta.com
- How to Add Disqus Comment System in WordPress | wpbeginner.com
If you enjoy this post, please share it on Facebook and Twitter. You might also support us by making a donation through Ko-fi.