
Generate the G-code for 3D printer
Related: Upgrade Ultimaker Marlin firmware and new SkeinPyPy slicing GUI
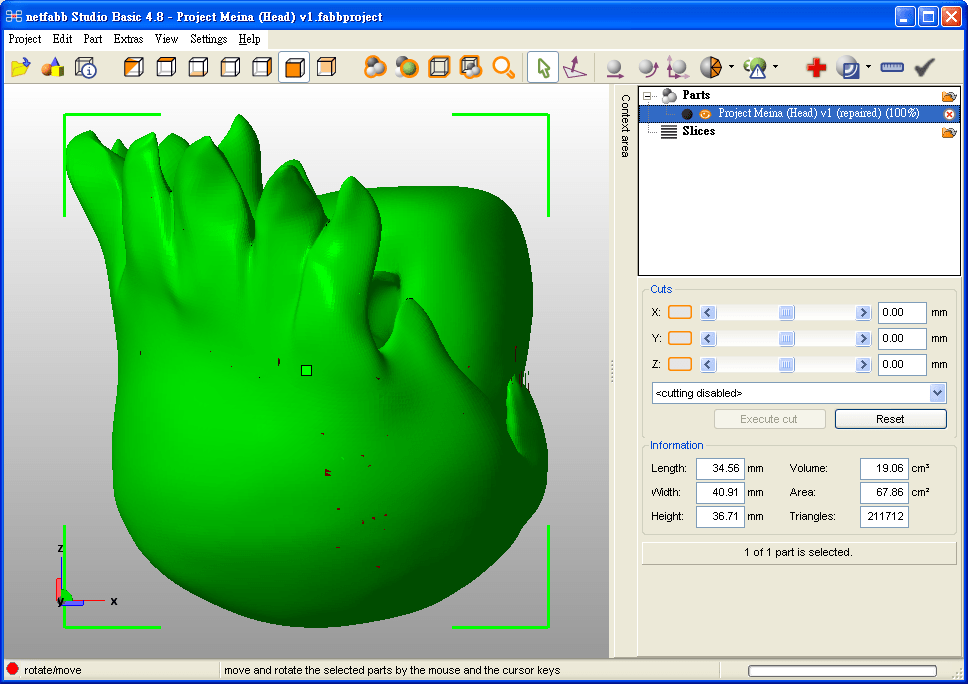
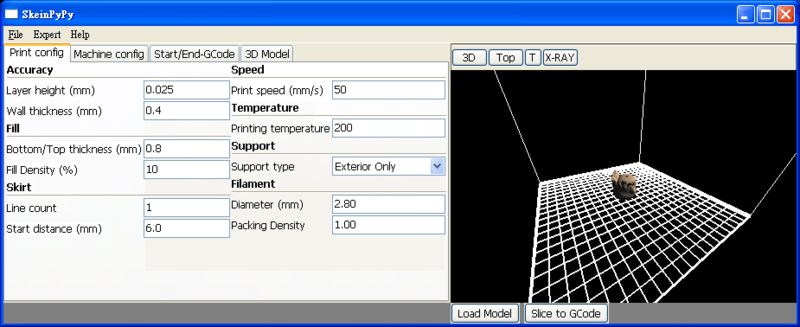
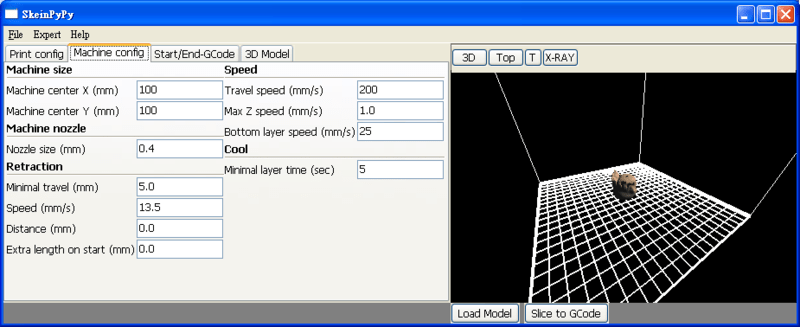
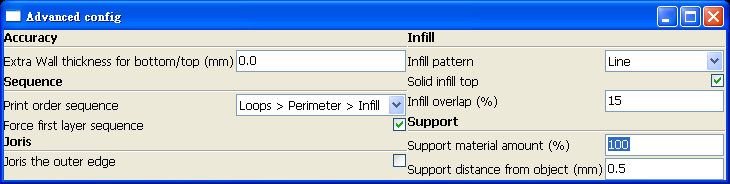
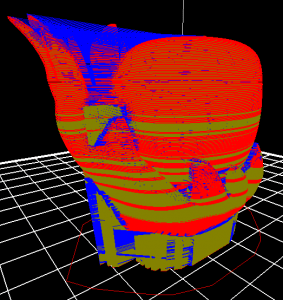
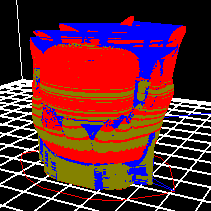
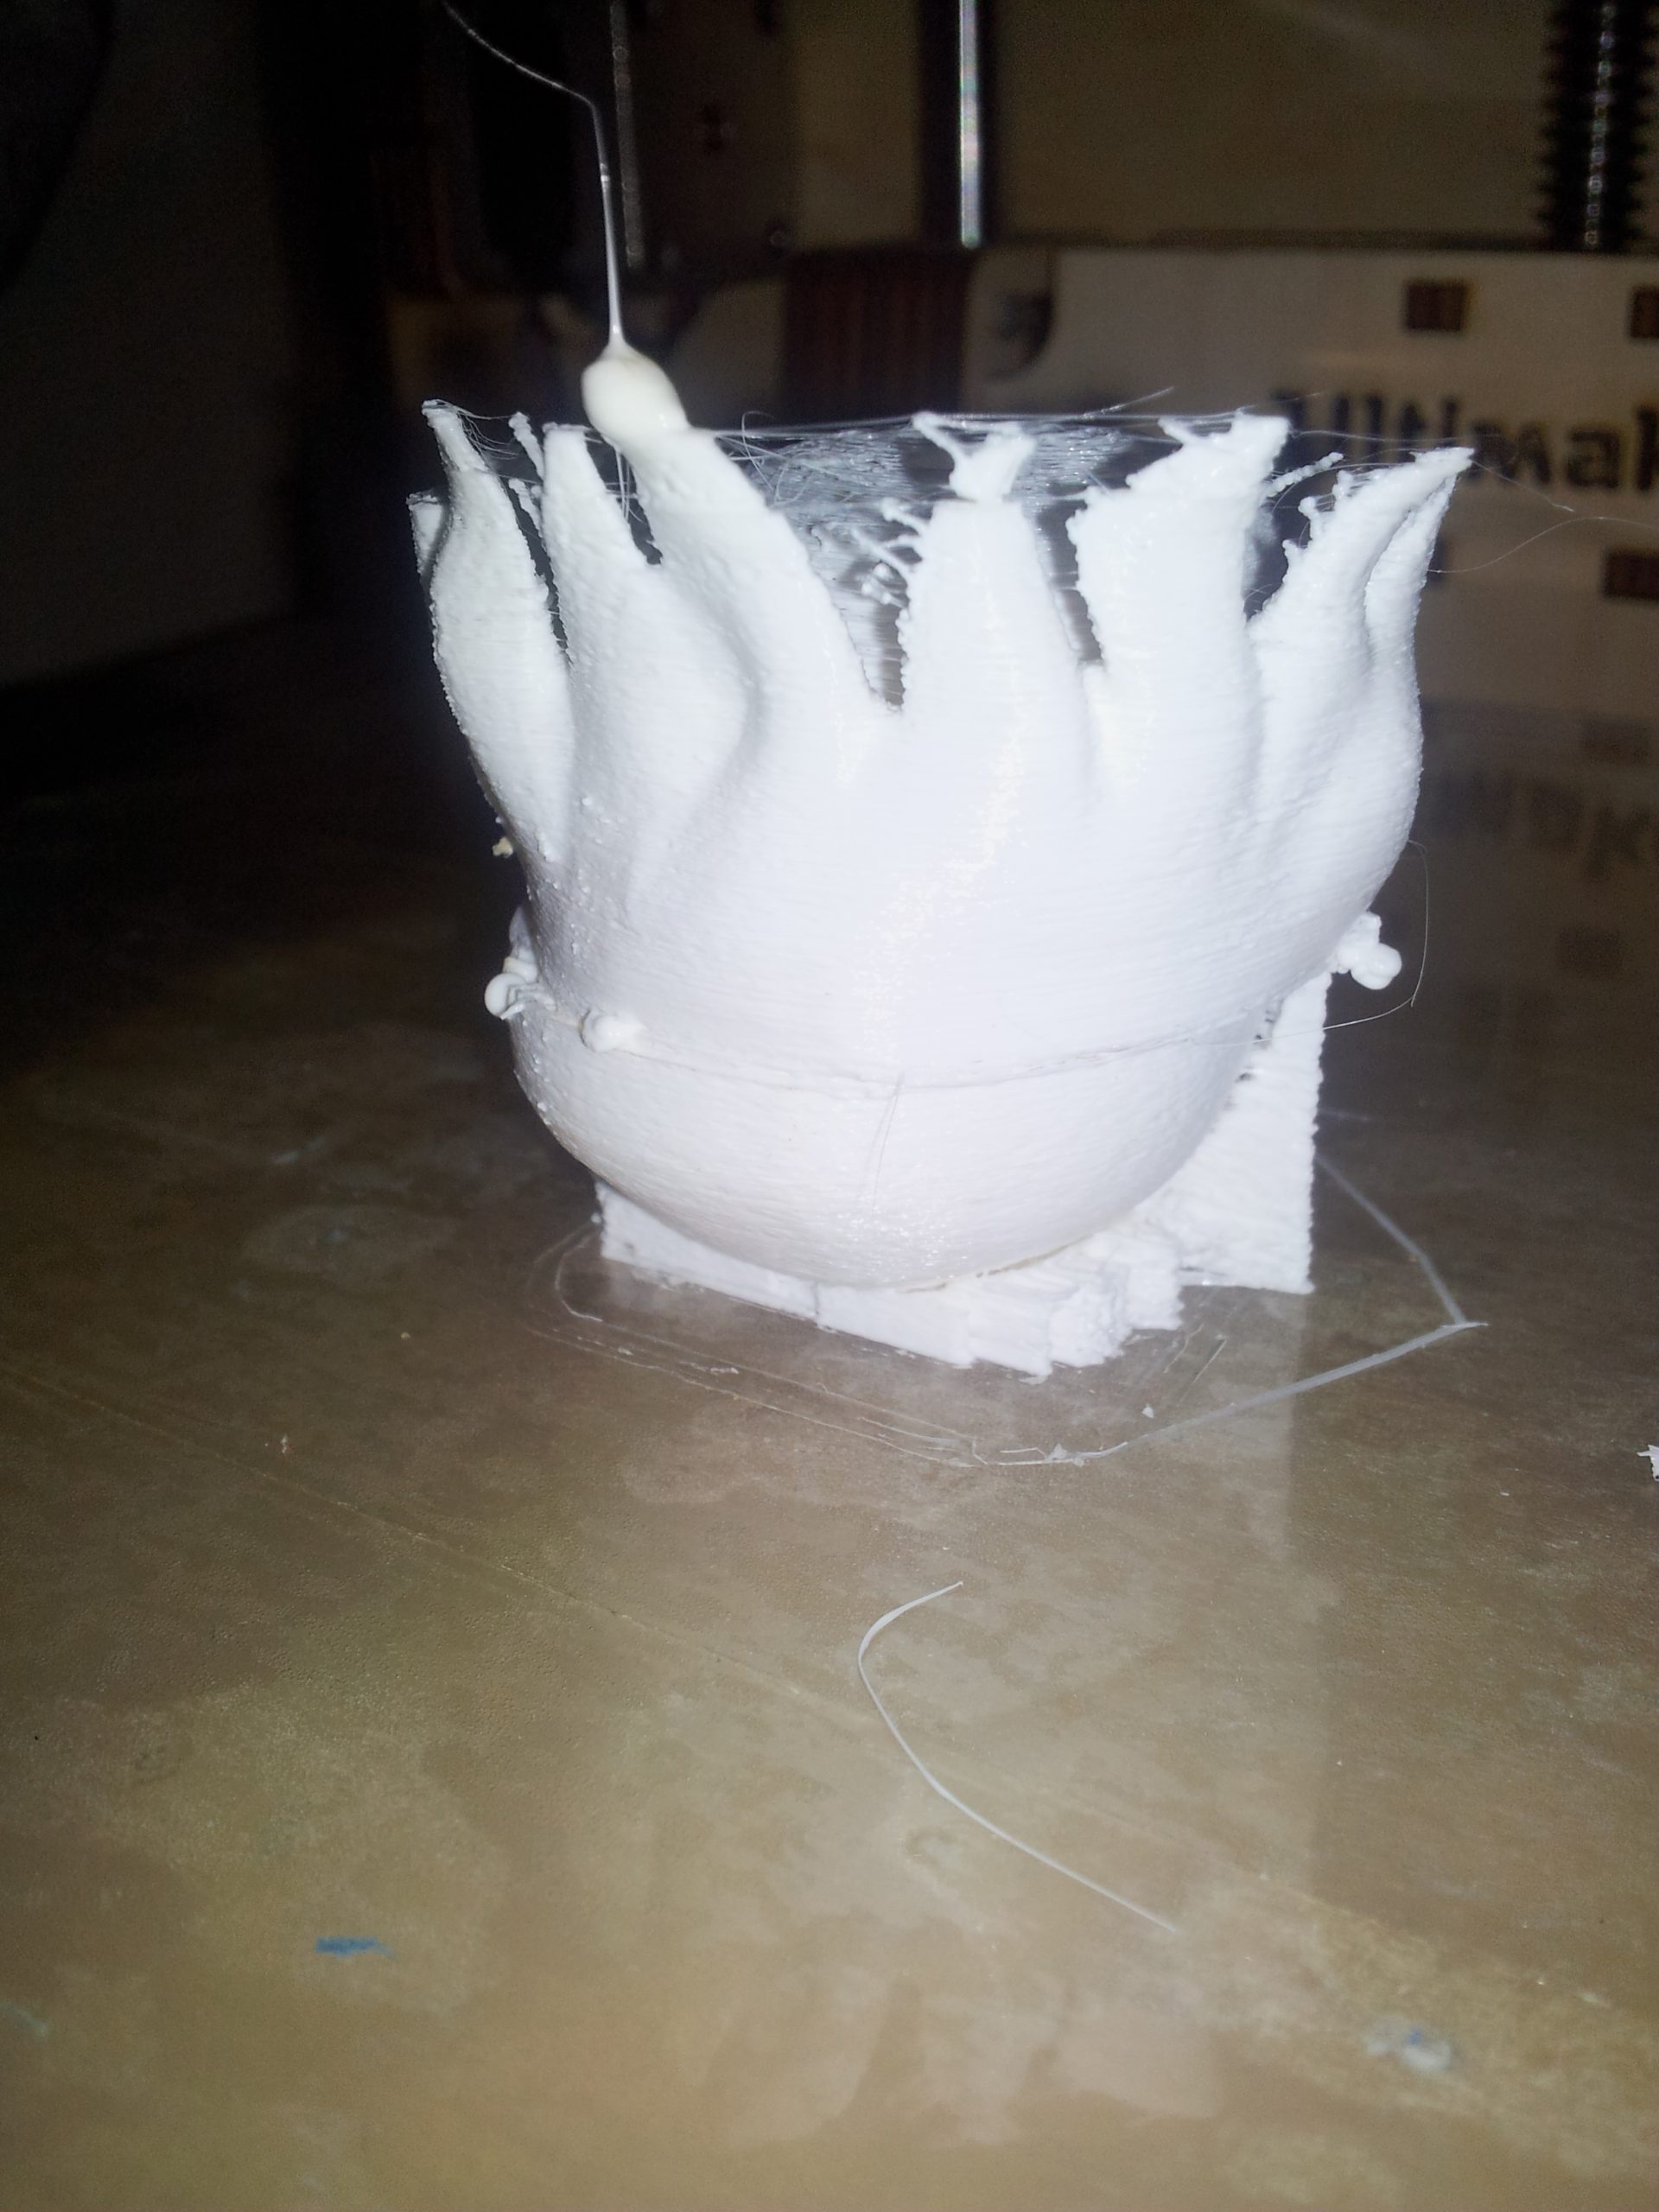
We tested 3D printing our cartoon head using SkeinPyPy. The three images above show the 3D print settings for slicing the layers for Ultimaker Original. We experimented with two sets of configurations: with a layer height of 0.025 mm and 0.05 mm, respectively. With a smaller layer height, a finer result but a longer time for slicing and printing the model. We want the figure to be as smooth as possible to minimize the polishing process; however, we should consider the tradeoff between the duration and the quality of the 3D printing. Despite the high resolution, SkeinPyPy generated the G-code rapidly and provided a print preview of the layers.
Settings for 0.025 mm layer height
- Layer height: 0.025 mm
- Wall thickness: 0.4 mm
- Printing temperature: 200 C
- Fill density: 10%
Settings for 0.05 layer mm height
- Layer height: 0.05 mm
- Wall thickness: 0.8 mm
- Printing temperature: 220 C
- Fill density: 20%
Common print settings
- Print speed: 50 mm/s
- Bottom/Top thickness: 0.8 mm
- Filament diameter: 2.80
- Packing density: 1.00
- Min. layer cooling time: 5 sec
- Support material amount: 100%
- Support distance from object: 0.5 mm
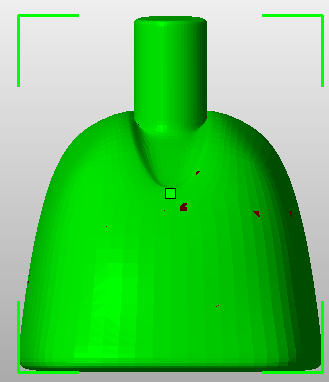
The print preview helped me to understand how the support would look like. Since SkeinPyPy is fast, I can easily test which orientation produces minimal supports. Rotating the model upside down was the best option I found.

Print Preview
Load the G-code to the 3D printer control program
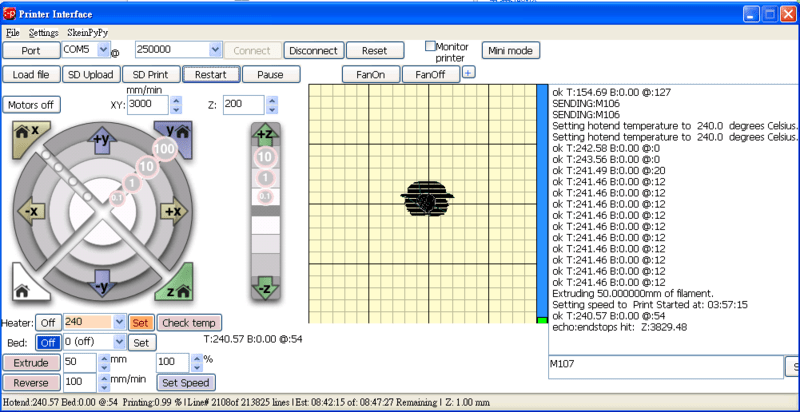
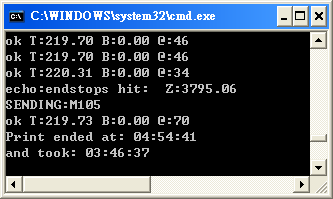
Printing Log


Related

In this post, we will continue to model our cartoon character’s head. The first section…