So you’ve lost (or never knew) your MariaDB root password — and your WordPress site is running inside Docker Compose. Don’t panic. Your data is safe, and this guide will walk you through a clean, step-by-step recovery that works whether you’re a beginner spinning up your first blog or a seasoned developer managing multiple sites.
Why This Happens 😧
When you first launched your Docker Compose stack, MariaDB generated a random root password (via MYSQL_RANDOM_ROOT_PASSWORD=1) and printed it once in the container logs. If you missed it, it’s gone. Changing MARIADB_ROOT_PASSWORD in your docker-compose.yaml later does nothing — MariaDB ignores environment variables after the database is already initialized.
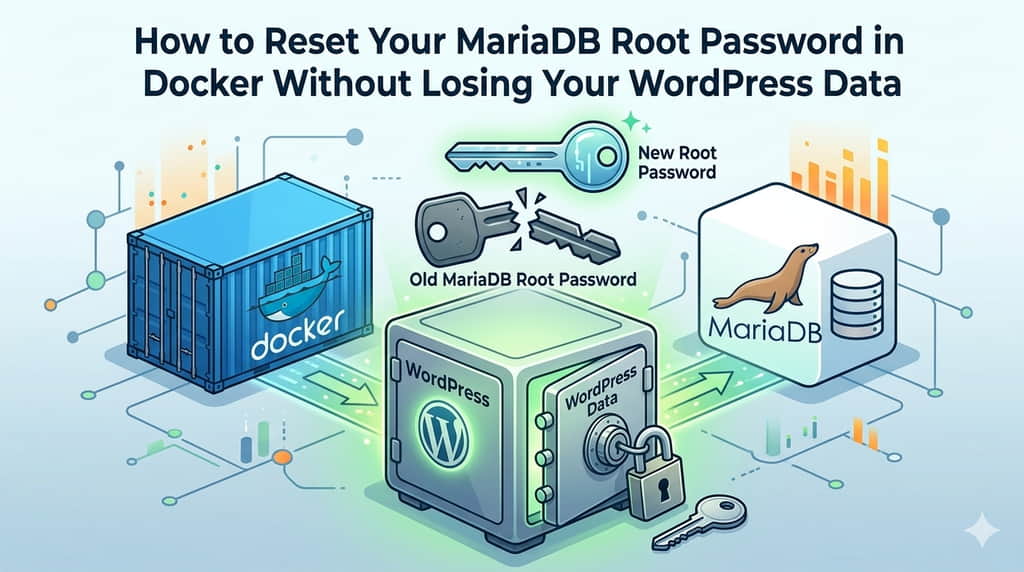
The good news: your WordPress database is completely untouched by this process. We’re only resetting the root password, not your data.
Before You Start
Check your docker-compose.yaml to find your MariaDB volume name. It usually looks like this:
services:
  mariadb:
    image: mariadb:latest
    volumes:
      - mariadb_data:/var/lib/mysql
    environment:
      MYSQL_RANDOM_ROOT_PASSWORD: "1"

volumes:
mariadb_data:The volume name here is mariadb_data. Note it down — you’ll need it shortly.
Step 1 — Stop Your Running Stack
First, bring everything down gracefully. This ensures no active database connections interfere:
docker compose down⚠️ Do not use docker compose down -v — that deletes your volume and all WordPress data.
Step 2 — Start a Temporary MariaDB Container (Safe Mode)
Spin up a new, temporary container pointing at your existing volume, with grant table checks disabled:
docker run --rm --name temp-mariadb \
  -v mariadb_data:/var/lib/mysql \
  mariadb:latest \
--skip-grant-tables --skip-networking--rmauto-removes the container when stopped — no cleanup needed.--skip-grant-tableslets you log in without a password.--skip-networkingblocks all remote connections for safety.
Leave this terminal running. Open a new terminal for the next steps.
Step 3 — Open a Shell Inside the Container
docker exec -it temp-mariadb bashThen connect to MariaDB as root (no password required):
mariadb -u rootYou should see the MariaDB prompt: MariaDB [(none)]>
Step 4 — Inspect the Root User
Before changing anything, confirm the root user exists and check its current authentication settings:
USE mysql;
SELECT user, host, authentication_string, plugin FROM user WHERE user='root';
FLUSH PRIVILEGES;You’ll see output like:
| user | host | authentication_string | plugin |
|---|---|---|---|
| root | localhost | *6BB4837EB7432910… | mysql_native_password |
The authentication_string is a hashed password — it cannot be reversed to plaintext. This is expected and normal.
Step 5 — Reset the Root Password
Now reload the grant tables and set your new password:
ALTER USER 'root'@'localhost' IDENTIFIED BY 'YourNewStrongPassword123!';
FLUSH PRIVILEGES;💡 Choose a strong password: mix uppercase, lowercase, numbers, and symbols. At least 16 characters is recommended for a database root account.
Older MariaDB versions (pre-10.4): use this instead:
UPDATE user SET authentication_string=PASSWORD('YourNewStrongPassword123!')
WHERE user='root' AND host='localhost';
FLUSH PRIVILEGES;Step 6 — Confirm the Change
Re-query the user table to verify the hash has changed:
SELECT user, host, authentication_string, plugin FROM user WHERE user='root';The authentication_string value should now be different from what you saw in Step 4. Then exit:
EXIT;Exit the container shell too:
exitThe temp container stops and is automatically removed.
Step 7 — Update Your docker-compose.yaml
Update the MARIADB_ROOT_PASSWORD in your docker-compose.yaml to match (for documentation and future use):
environment:
MARIADB_ROOT_PASSWORD: "YourNewStrongPassword123!"Then restart your stack:
docker compose up -dStep 8 — Verify Everything Works
Test root login:
docker compose exec mariadb mariadb -u root -pYourNewStrongPassword123!Test that WordPress still connects to its database (note: WordPress uses a separate DB user, not root):
docker compose exec mariadb mariadb -u wordpress -pwordpress_db_password wordpressVisit your WordPress site in the browser — it should load normally. WordPress was never affected.
Prevention: Don’t Get Locked Out Again
- Store passwords in a
.envfile (excluded from git via.gitignore) and reference them indocker-compose.yamlwith${MARIADB_ROOT_PASSWORD}. - Use Docker Secrets for production environments.
- Never use root for WordPress — use a dedicated DB user with limited privileges.
- Back up your volume before making any database changes:
docker run --rm -v mariadb_data:/data -v $(pwd):/backup alpine \ tar czf /backup/mariadb_backup.tar.gz /data